Windows To USB
How to install Windows onto a USB drive from an ISO
This is not the same job as a setup USB. Bootable USB copies installer files so another PC can run Setup. Windows To USB puts a Windows install onto the flash drive itself — NTFS, DISM, bcdboot. Pick the wrong button and you still wipe the stick.
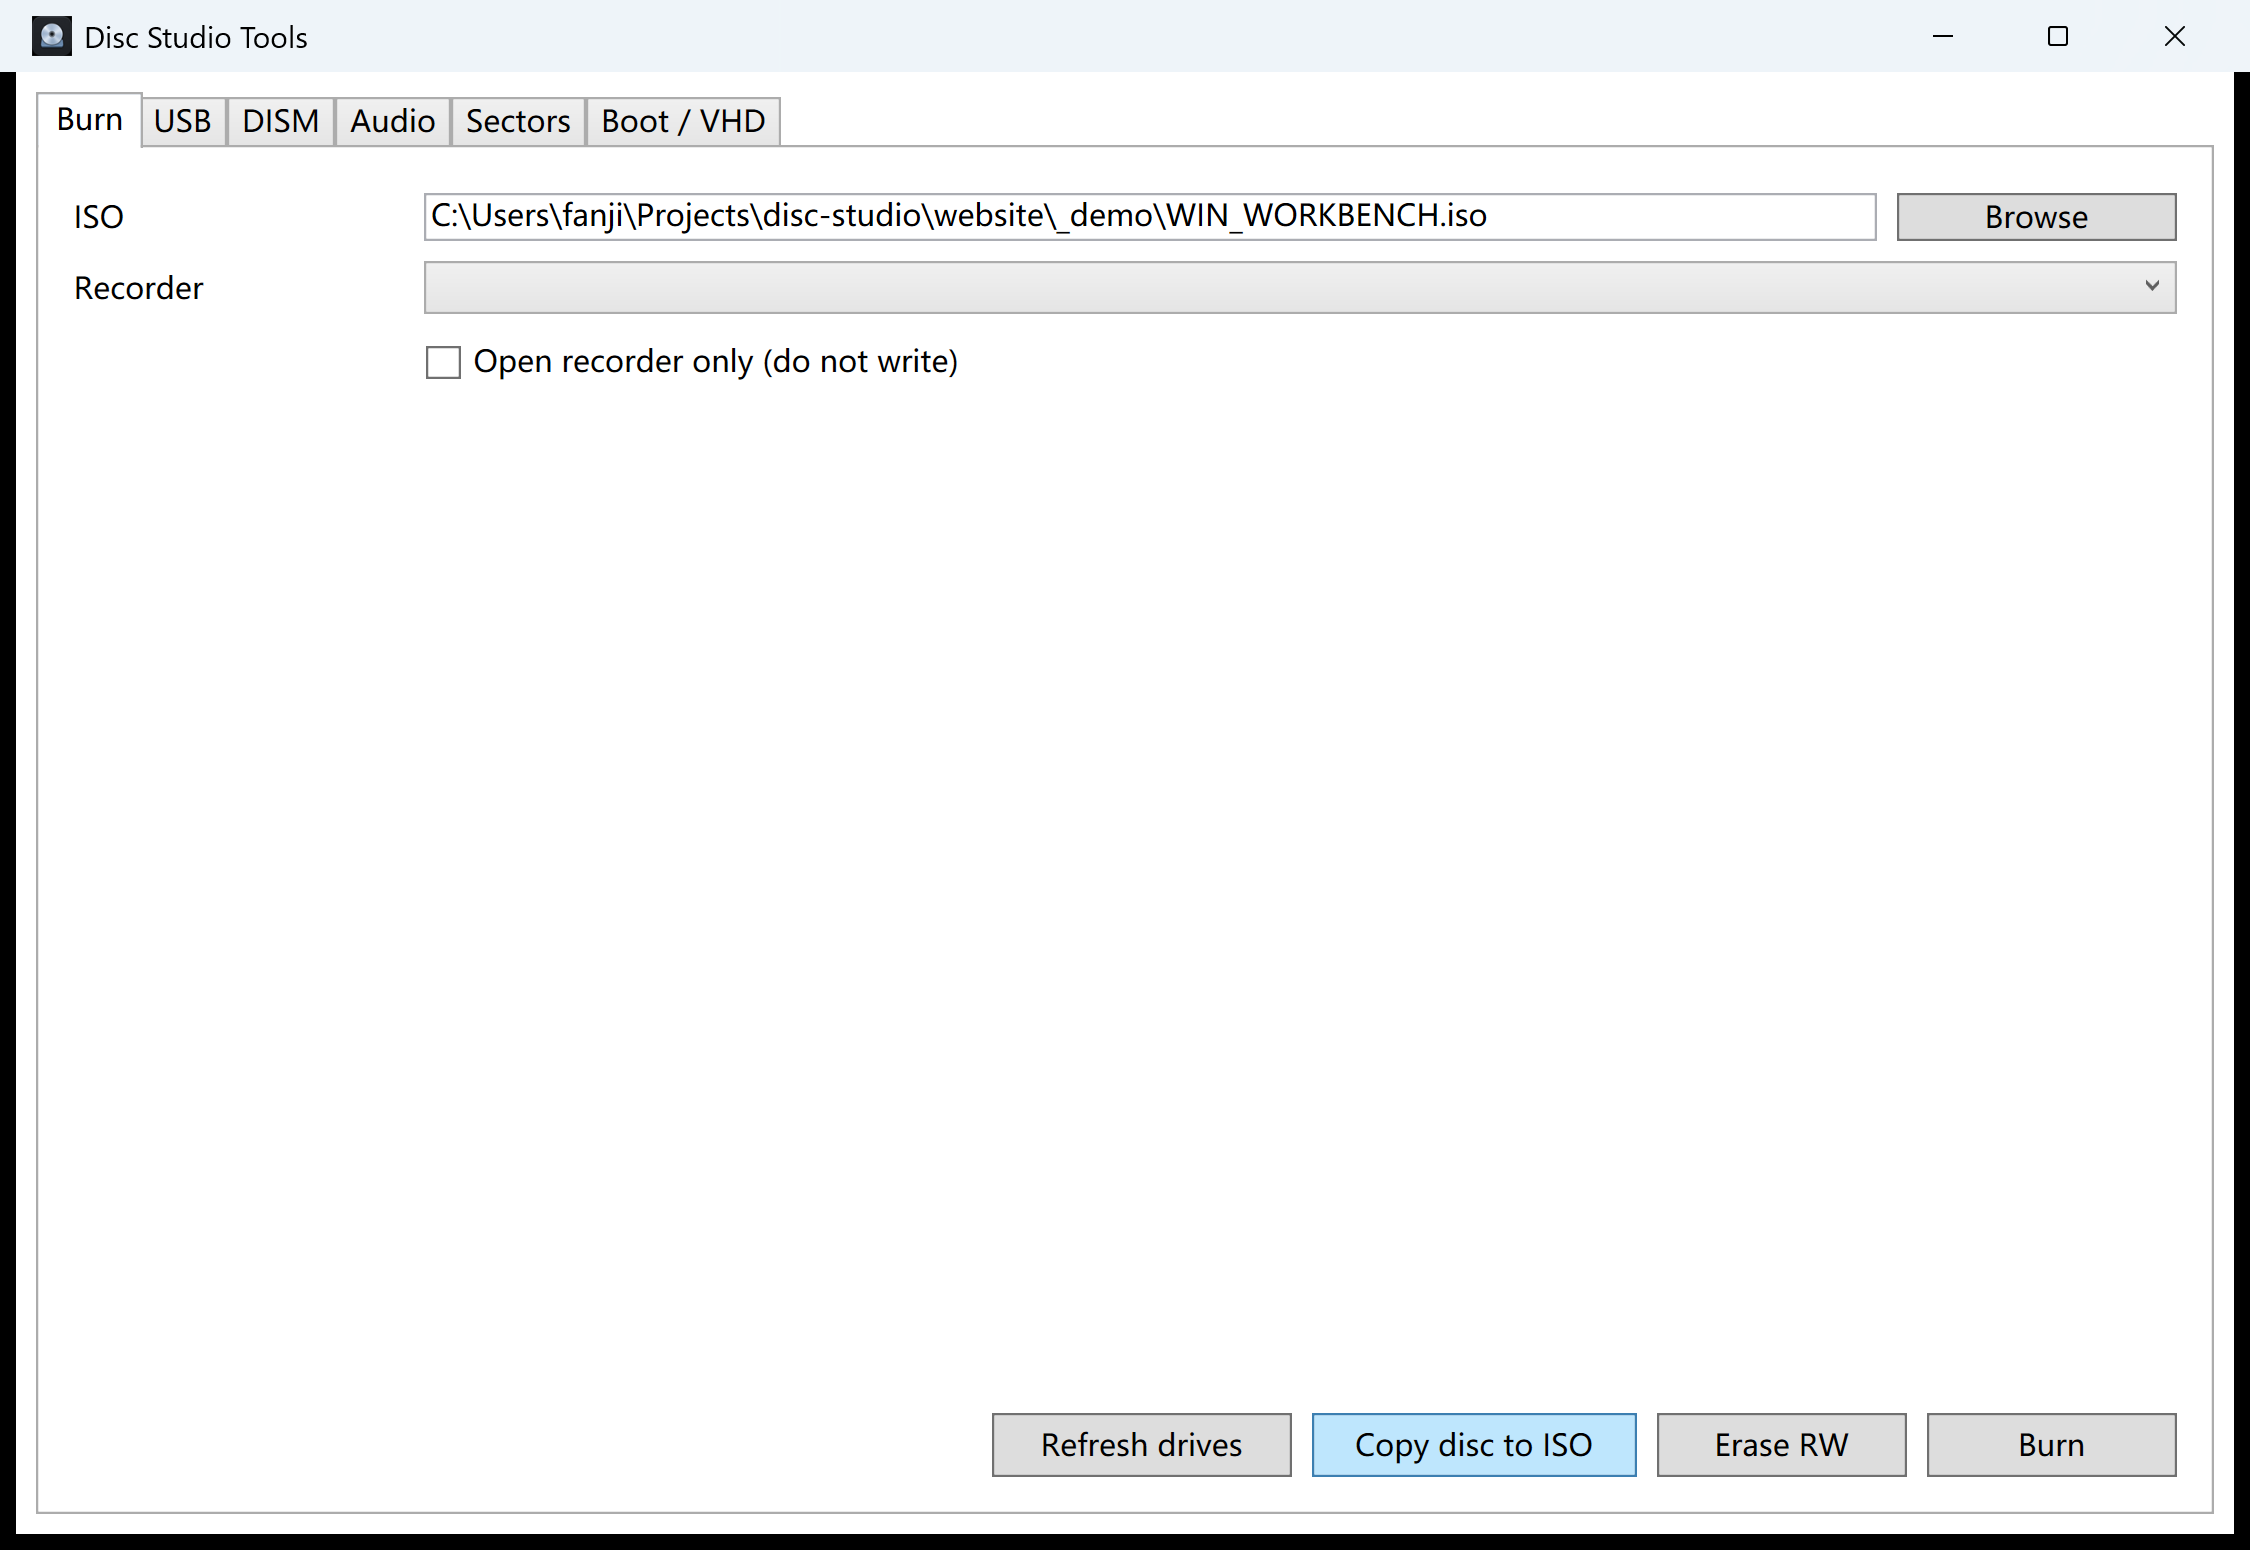
Two USB buttons, two different disks at the end
Bootable USB copies the installer onto the stick. You boot Setup from it. That is the common “make a Windows USB” search. See create a bootable USB from an ISO.
Windows To USB formats NTFS, applies sources\install.wim or install.esd with DISM, then runs bcdboot. The flash drive becomes a Windows install, not a setup launcher. Tools → Install Windows to USB is the same job.
Steps
- Use a spare USB large enough for Windows. The write erases it. Copy photos off first. Confirm the letter and the size.
- Open a real Windows setup ISO. You should see
sourcesand an install.wim or install.esd. Extract nothing yet unless you only need the WIM — then see extract. - Run Windows To USB. Tools → Install Windows to USB, or the USB tab → Windows To USB. Pick the ISO and the flash drive. Not the system disk.
- Boot the machine from that USB. Firmware boot menu. This app does not bypass Windows 11 hardware checks. If Setup refuses the PC, that is Microsoft’s check, not a hidden Disc Studio switch.
Safety
A wrong letter destroys a data drive. Disc Studio cannot undo a format. The current build is not Authenticode-signed, so SmartScreen may warn on first run.
Questions people ask next
Is this the same as Rufus Windows To Go?
Same family of idea: Windows lives on the USB. Disc Studio uses DISM plus bcdboot. It is not a clone of every Rufus option.
Why not just copy the ISO to the USB?
That does not install Windows and it does not make a setup USB either. Use Bootable USB or Windows To USB, on purpose.
Does this skip Windows 11 requirements?
No.
Can I use a Linux ISO here?
Windows To USB expects a Windows WIM/ESD. For a Linux installer stick, use Bootable USB.