UtiliVera Image field guide
Batch Resize Images on Windows 10/11 Without Distortion
Choose the right workflow
PowerToys, browser, or a full folder workflow?
All three can be the right answer; the batch size and verification requirement decide.
On a small screen, swipe the table or focus it and use the arrow keys.
| Option | Best when | Know before using |
|---|---|---|
| PowerToys Image Resizer | Right-click selected files in File Explorer for a quick preset or command-line resize. | Review its Fit, Fill, Stretch, replace, metadata, and destination choices before committing a large selection. |
| UtiliVera browser resizer | Resize up to 20 JPG, PNG, or WebP files immediately without uploading them. | The browser tool does not recurse through folders or provide the desktop output plan and report. |
| UtiliVera Image | Process recursive or mixed-format folders with naming, metadata, recipes, output preflight, and reports. | Its broader workflow is more than a one-image resize needs; use a representative test batch first. |
To batch resize images on Windows without distortion, use Fit or a long-edge rule, preserve aspect ratio, disable enlargement, and review every destination before writing. A dependable job also protects small files, keeps names unique, and writes to a separate folder.
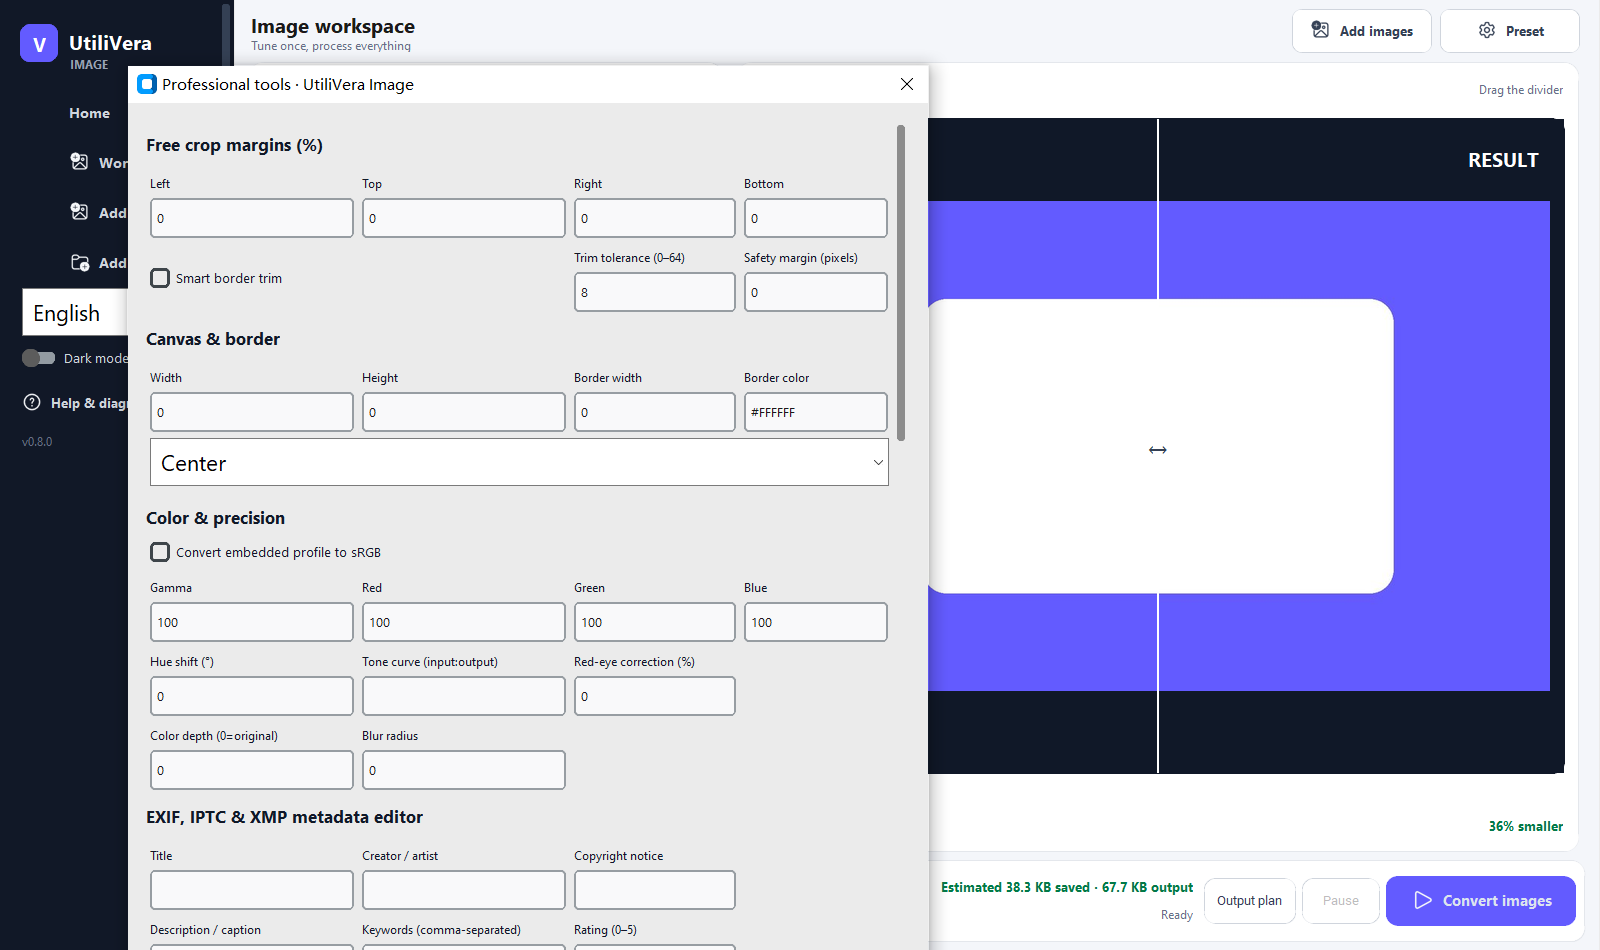 Open the full-size interface image
Reproducible task evidence
Input → parameters → output → verification
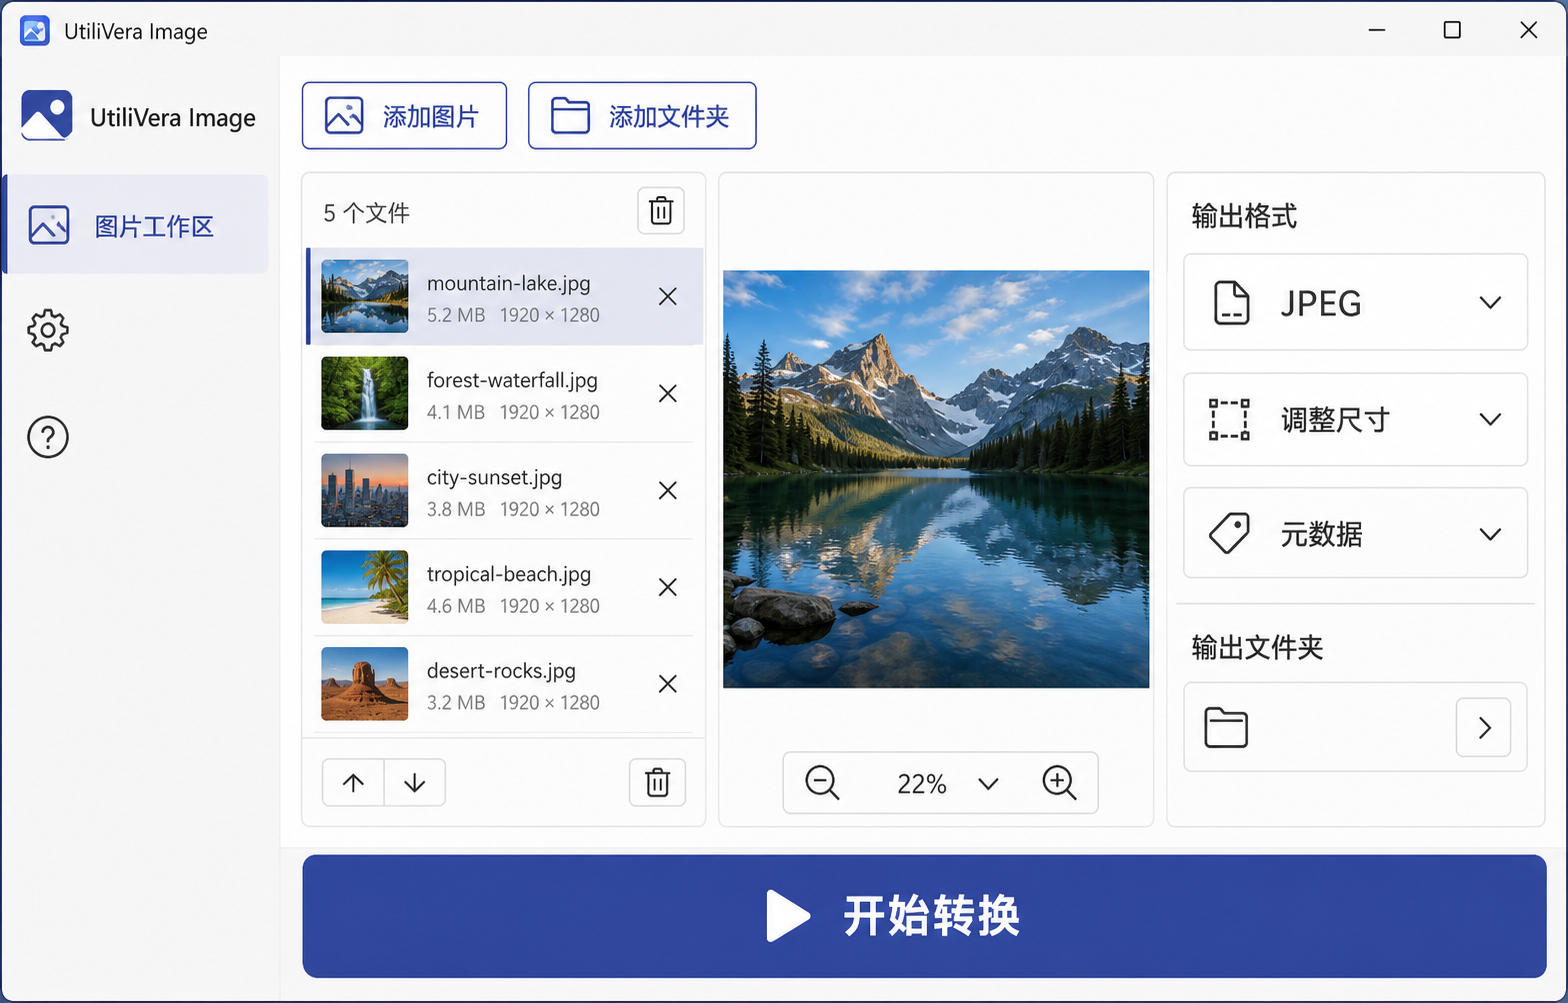 Open full-size input
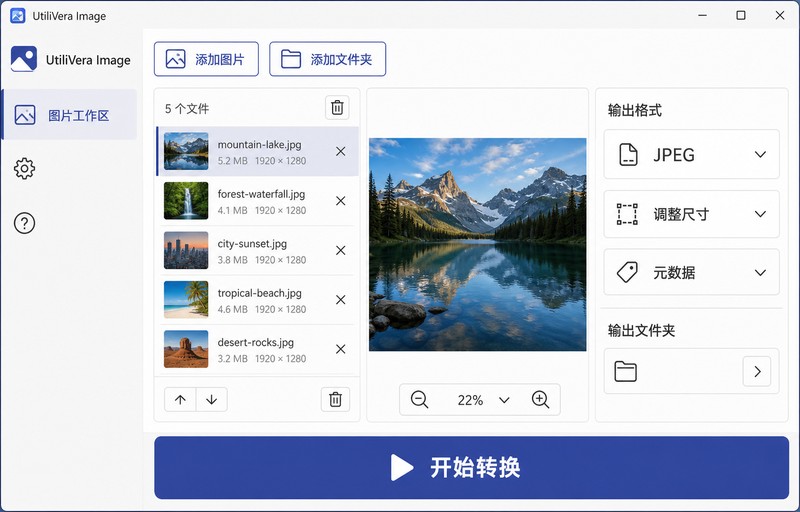 Open full-size result
- Parameters
- JPEG · long edge 800 px · quality 90 · never enlarge
- Verification
- The result measures exactly 800 px on its longest edge and is 77,351 bytes; dimensions and SHA-256 are machine-checked.
Choose Fit, Fill, long edge, or exact size
Use Long edge for mixed portrait and landscape photographs. Use Fit to keep the complete image inside a bounding box. Fill preserves aspect ratio but crops to cover the box. Exact size is appropriate only when the destination truly needs fixed dimensions and you have chosen how cropping or padding should work.
Microsoft uses the same useful distinction between Fit, Fill, and Stretch in PowerToys Image Resizer. Stretch changes proportions and can make faces, products, and logos look wrong, so avoid it unless distortion is intentional.
Protect small sources and control resampling
Enable Never enlarge. Upscaling creates more pixels but cannot recreate detail missing from the source. Put undersized files into a review group rather than quietly making them larger and softer.
Use a high-quality reduction filter such as Lanczos for photographs, then test any output sharpening on faces, diagonals, and text. Sharpening that helps a downscaled photo can produce halos on screenshots or illustrations.
Plan folders and names before writing
Add the top-level folder recursively and preserve its subfolder structure when the directory hierarchy carries meaning. Use a naming template such as {name}-{width}x{height}; retain the original stem so an output can be traced back to its source.
Inspect Output Plan for duplicate names, unsupported files, and paths that are too long. Send results to a new root folder and leave originals untouched. This also makes the batch easy to delete and repeat when the requirements change.
Validate the batch and save a recipe
Preview one portrait, one landscape, one small source, one image with text, and one transparent image. Check pixel dimensions, aspect ratio, transparency handling, metadata policy, and destination names before running hundreds of files.
Review the final report for failures and unexpected output sizes. Save the complete configuration as a recipe so the next run repeats the same resize rule, encoder, naming, edit order, and metadata policy.
Primary sources
Frequently asked questions
Can portrait and landscape photos use one rule?
Yes. Long-edge and Fit rules adapt to orientation while preserving proportions.
Will 1920 × 1080 distort portrait photos?
Not with Fit: the whole portrait remains proportional inside the box, so one dimension will be smaller. Fill crops to cover the box, while Stretch changes proportions and causes distortion.
Does resizing improve a blurry photo?
No. Upscaling can increase dimensions but cannot reconstruct missing source detail.
Will the source folder be changed?
Not when you choose a separate output root. Review Output Plan and keep replacement disabled.
Is PowerToys enough for batch resizing?
PowerToys is excellent for quick Explorer selections and presets. Use UtiliVera when the job also needs recursive folders, mixed formats, a preflight output plan, metadata rules, recipes, or a machine-readable report.
Current UtiliVera release
Verify the download before the full job.
The public build is unsigned. Download only from utilivera.com and check the published SHA-256.
View unsigned download details