UtiliVera Image field guide
How to Convert HEIC to JPG on Windows 10/11
Choose the right workflow
Choose the quickest safe HEIC path
Conversion is not always necessary. Match the method to the number of files and what must be preserved.
On a small screen, swipe the table or focus it and use the arrow keys.
| Option | Best when | Know before using |
|---|---|---|
| Windows Photos | View a few HEIC files when the required Windows HEIF/HEVC extensions already work. | Viewing does not create a controlled folder batch, naming plan, metadata policy, or conversion report. |
| Phone transfer | Let the device create compatible copies during a small future transfer when that option is available. | It does not solve an existing Windows folder, and transfer behavior can vary; retain the HEIC masters. |
| UtiliVera Image | Convert existing folders offline with output planning, ICC handling, GPS choices, safe names, and a report. | JPEG is still lossy. Inspect a representative output and keep every HEIC original. |
To convert HEIC to JPG on Windows without uploading private photos, keep the HEIC originals, write JPEG copies to a separate folder, and verify one detailed result before running the full batch. HEIC is efficient for iPhone photos, but a website, print service, or older Windows program may still require JPG.
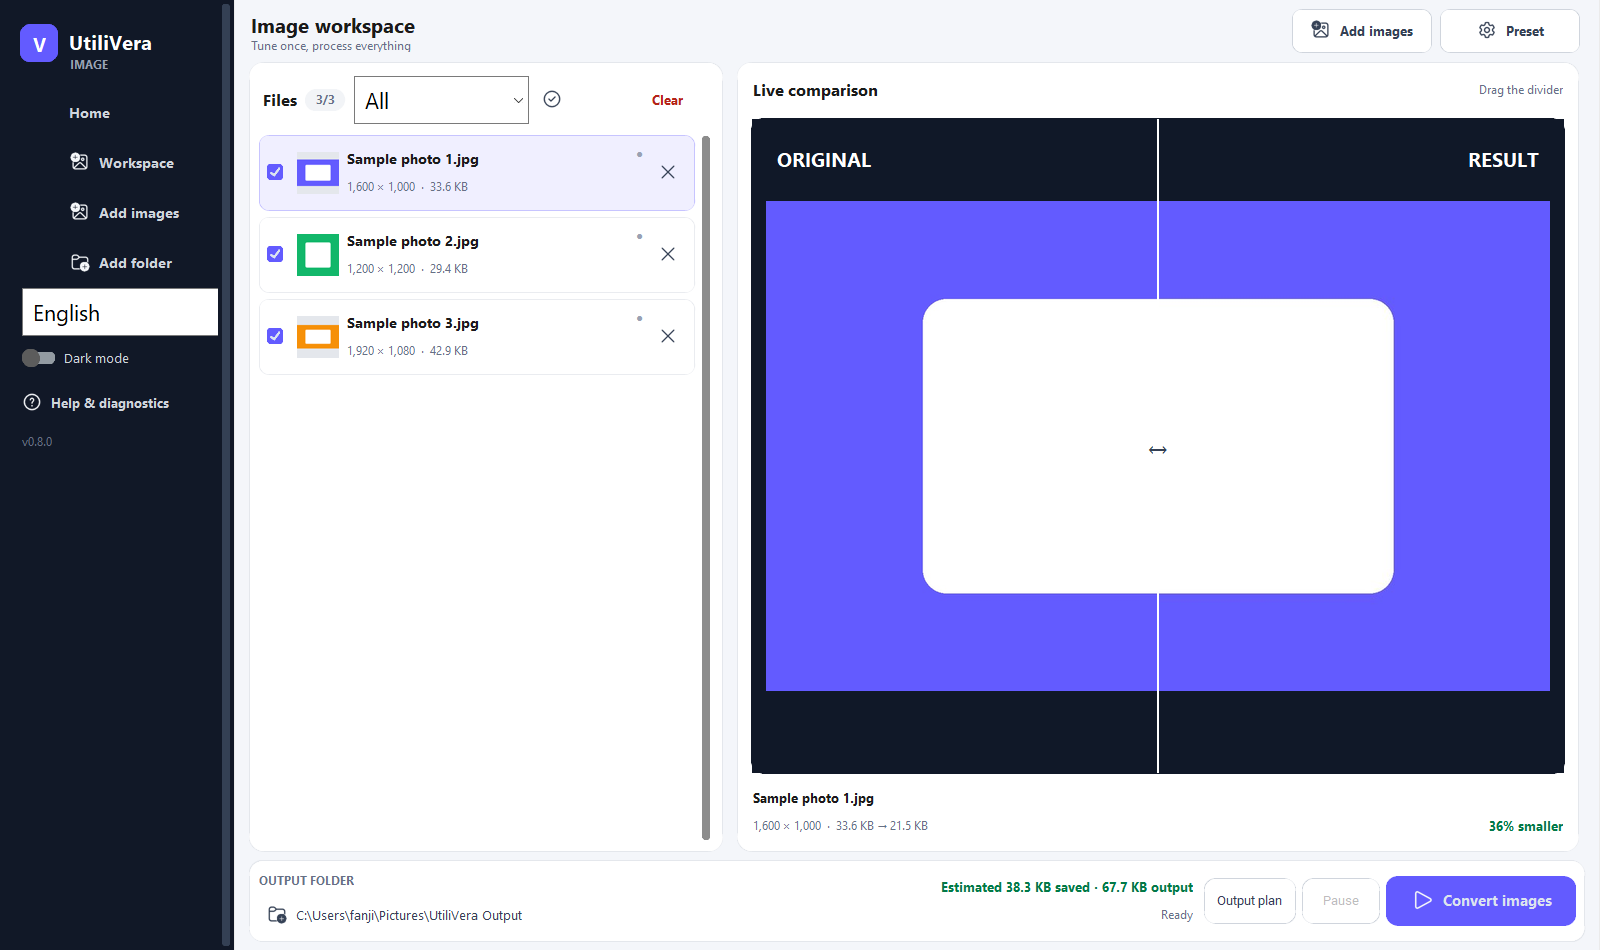 Open the full-size interface image
Reproducible task evidence
Input → parameters → output → verification
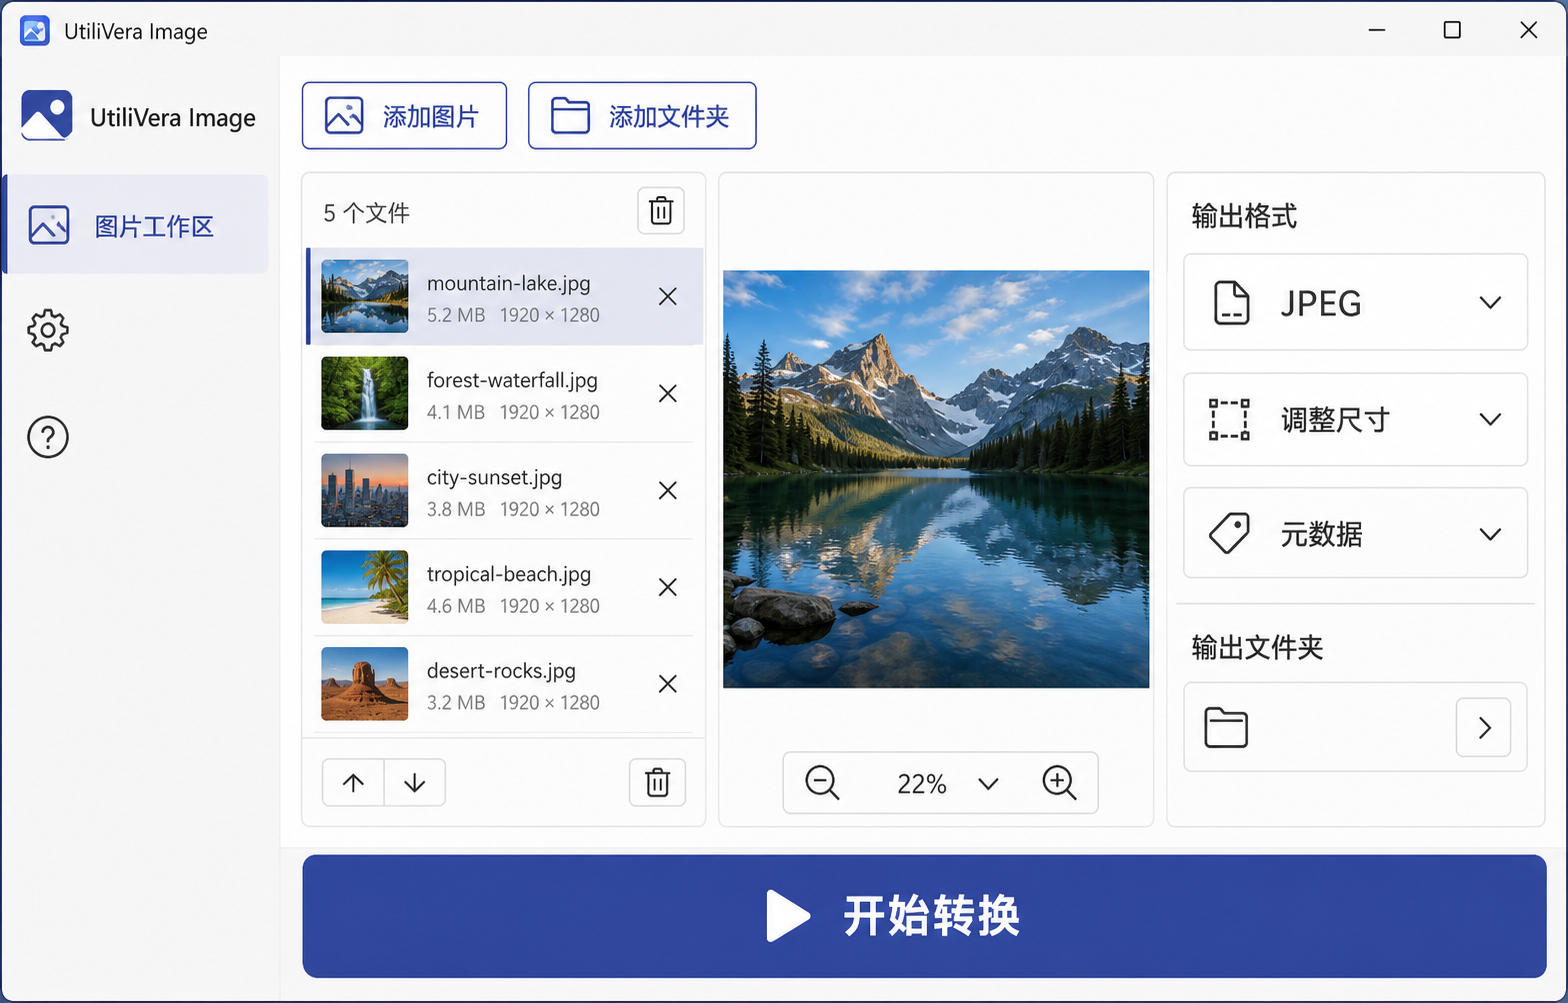 Open full-size input
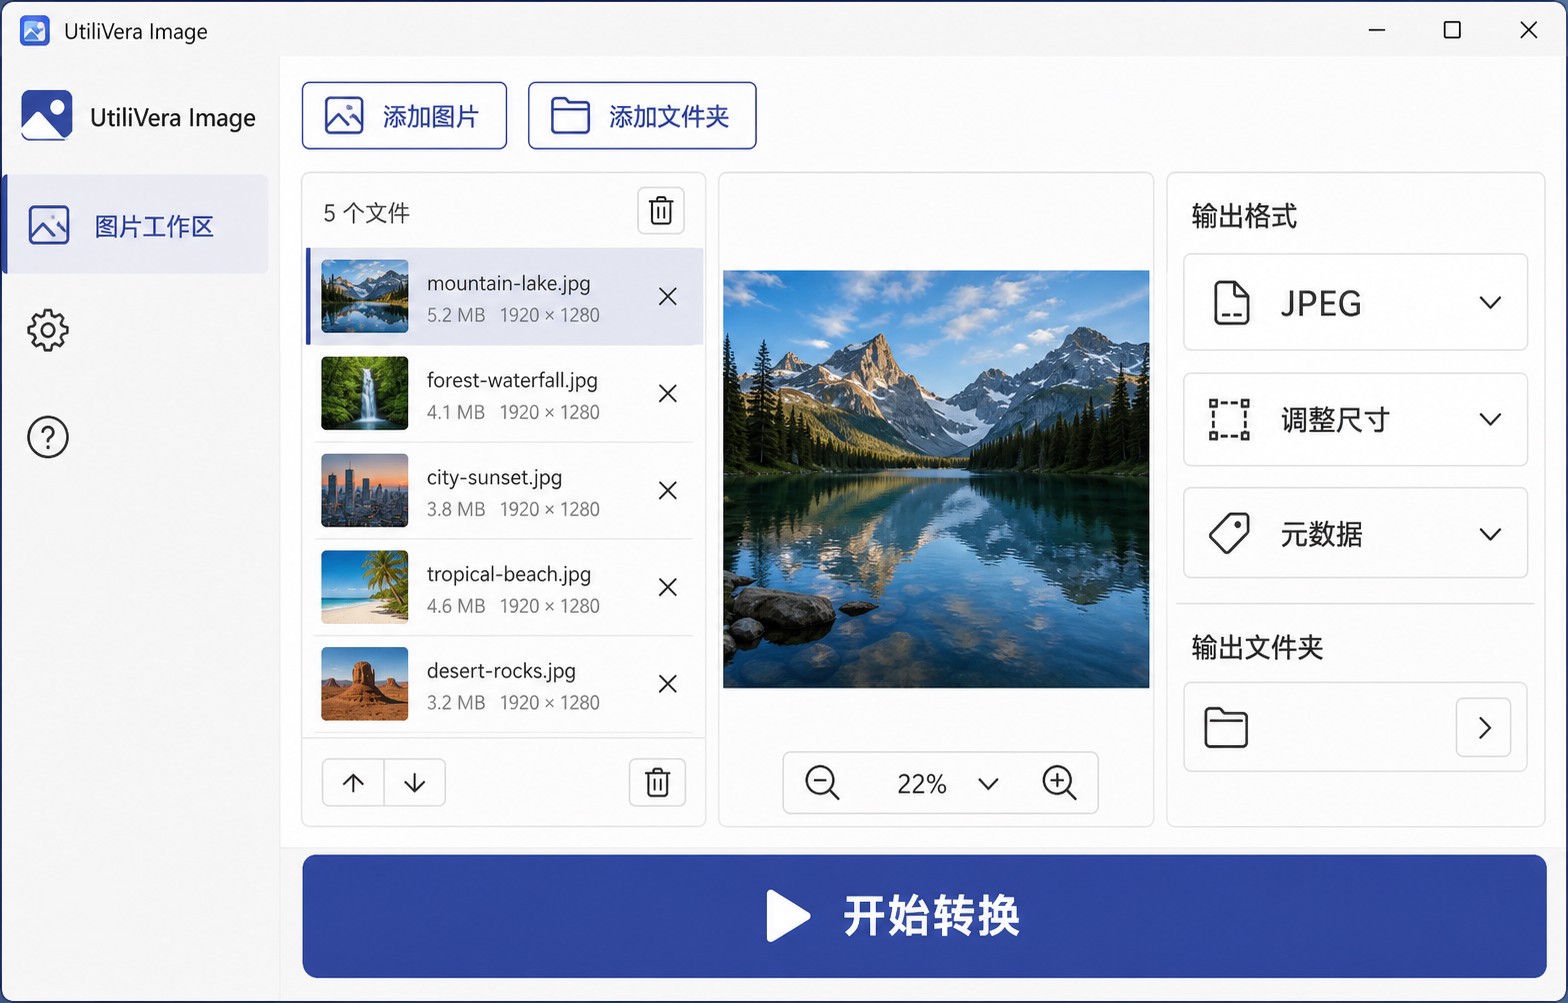 Open full-size result
- Parameters
- HEIF input → JPEG · quality 90 · Remove GPS
- Verification
- The published run created a 220,208-byte JPEG from a 456,995-byte HEIF input; both hashes are recorded in the evidence manifest. HEIF encoder byte size may vary between valid runs, so the manifest is authoritative.
Open the hashes and machine checks · Download the controlled HEIF input

Choose a separate destination before converting
Add the HEIC files or their parent folder, choose JPEG, and send the results to a new output folder. Do not point the output back at the source folder. Keeping HEIC as the master gives you a reversible workflow even though JPEG itself is lossy.
Open Output Plan before starting. It should show one unique JPG path per source, preserve subfolders when albums are nested, and flag naming collisions. This short check prevents the most expensive batch mistake: discovering after conversion that two files competed for the same name.
Start with settings that favor compatibility
For photographs, start with JPEG quality 82, progressive encoding, optimization enabled, Preserve ICC, and Never enlarge. Quality numbers are encoder-specific, so 82 is a starting point rather than a promise. Inspect hair, foliage, fabric, text, and gradients at 100% before deciding.
Use automatic chroma subsampling for ordinary photos. Choose 4:4:4 when small colored text or graphic edges matter more than file size. If the destination has a hard limit, switch to target-size mode instead of repeatedly guessing lower quality values.
Decide which metadata the JPG should carry
For private archives, preserve useful capture dates, captions, orientation, and the ICC profile. For photos going to a public listing or social post, Remove GPS only is usually safer than deleting every metadata field: it removes precise location while retaining information that can still help sorting and color display.
Do not assume the receiving platform will clean location data. Verify a sample output before sharing. Keep an untouched original if the metadata has historical, journalistic, legal, or evidentiary value.
Verify one output, then run the folder
Open the preview at 100%, compare color and fine detail, and check the output dimensions. Then open the resulting JPG in the actual destination application. A file that looks correct in the converter can still expose a compatibility rule imposed by a CMS, marketplace, or print lab.
After the batch, review the report for skipped files, warnings, output size, and destination path. Apple documents that HEIF can be exported to a more compatible format; this workflow adds Windows batch controls, output planning, and an explicit privacy step.
Primary sources
Frequently asked questions
Does HEIC-to-JPG conversion reduce quality?
JPEG is lossy, so the pixels are re-encoded. A careful quality setting can look visually unchanged at the intended size, but keep the HEIC original when you need a master.
Can I keep the original capture date?
Yes. Preserve the capture date and other useful metadata, or choose Remove GPS only when the public copy should not contain location coordinates.
Will the photos be uploaded?
No. UtiliVera Image performs this workflow on the Windows PC; choose a local output folder and no account is required.
Why does Windows ask for a HEIF or HEVC extension?
Windows Photos can require Microsoft Store extension codecs for some HEIC files. UtiliVera's audited desktop route is intended for local folder conversion, but unusual HEIF variants should still be tested before a large batch.
Continue the real workflow
Choose the next UtiliVera tool by task
Current UtiliVera release
Verify the download before the full job.
The public build is unsigned. Download only from utilivera.com and check the published SHA-256.
View unsigned download details