UtiliVera Image field guide
How to Compress Images Without Visible Quality Loss
“No quality loss” can mean mathematically lossless or simply no visible difference at the final viewing size. Those are different goals. The most reliable workflow fixes unnecessary pixel dimensions first, compares a representative crop, and keeps the original as the master.
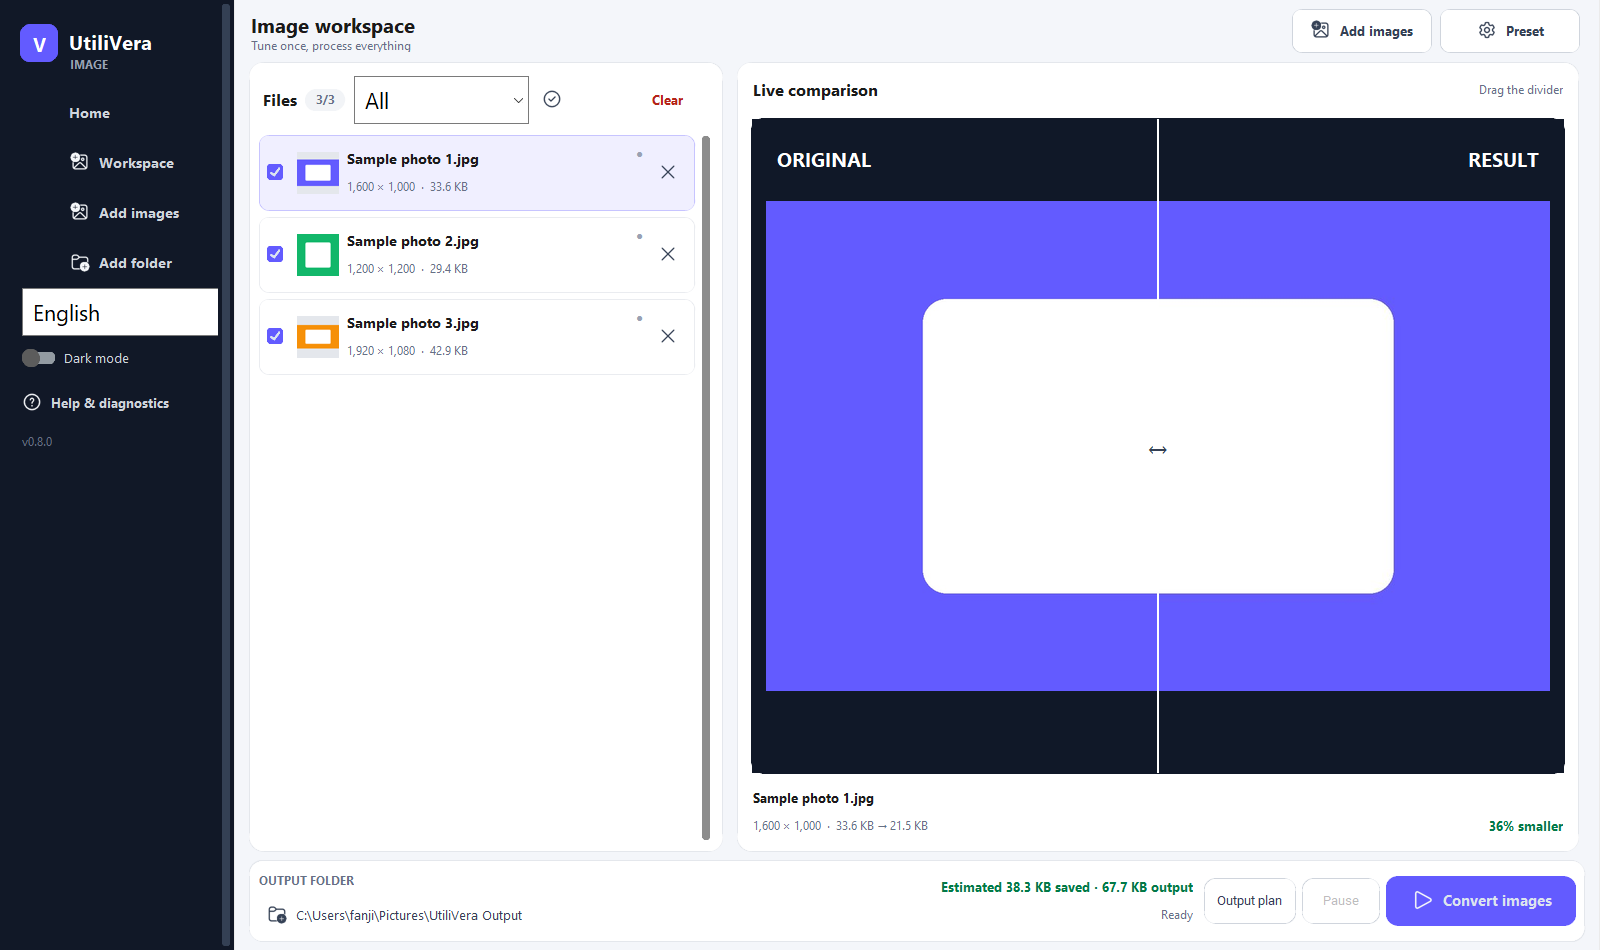 Open the full-size interface image
Match pixel dimensions to the real display
A 6000-pixel camera image is wasteful when a page displays it at 1600 pixels. Resize the long edge first, keep aspect ratio, and enable Never enlarge. Removing pixels the destination cannot show often saves more bytes than forcing a visibly lower encoder quality.
Use Fit when the whole image must remain visible inside a width-and-height box. Use Fill only when cropping is acceptable. Stretch changes the aspect ratio and should be reserved for deliberate distortion.
Choose the format by content and destination
JPEG remains the broad compatibility choice for photographs. WebP supports lossy and lossless modes, transparency, metadata, color profiles, and animation. AVIF can be very compact but takes longer to encode and may be less convenient in older desktop workflows. PNG is appropriate for lossless graphics and transparency, not usually for compact photographs.
Do not compare JPEG 82, WebP 82, and AVIF 82 as if the numbers were equivalent. Compare the actual rendered result at the same dimensions and intended viewing size. Keep a lossless or camera original before creating delivery copies.
Use target-size mode for a hard KB ceiling
When a portal rejects anything above 500 KB, enter 500 KB as the target and let the encoder search for the best practical result below the ceiling. Leave a small margin if the receiving system calculates KB differently or adds its own metadata.
If quality search alone cannot reach the target, allow dimension reduction or choose a more realistic limit. A tiny byte budget cannot preserve arbitrary detail. Removing unneeded EXIF thumbnails and metadata can help, but preserve ICC when predictable color matters.
Inspect detail and record the decision
Compare a detailed crop at 100%: hair, grass, fabric, gradients, and small text reveal artifacts earlier than flat areas. Then view the complete image at its final size; pixel-level differences can be irrelevant in context, while ringing around text can remain obvious.
Save the chosen dimensions, format, quality or target size, sharpening, and metadata policy as a recipe. Reusing a documented recipe is faster and safer than inventing settings for every batch.
Primary sources
Frequently asked questions
Is WebP always smaller than JPEG?
No. It often is for comparable photographic quality, but the source, encoder settings, dimensions, and metadata all matter. Test the actual destination.
Can every image reach any KB target?
No. A very small limit may require fewer pixels or unacceptable artifacts. Raise the limit or permit resizing.
What should I use as a starting quality?
For photographs, 82 is a practical starting point in UtiliVera Image, not a universal rule. Inspect a representative image before processing the folder.
Continue the real workflow
Choose the next UtiliVera tool by task
Current UtiliVera release
Verify the download before the full job.
The public build is unsigned. Download only from utilivera.com and check the published SHA-256.
View unsigned download details